Showing posts with label decor. Show all posts

Wednesday, October 28, 2015

Autumn Girly/Shabby Chic DIY Decor


As you all may know by now I love decorating for the different seasons, so today I'm going to show you decorations I DIYed for this Autumn!  All these DIYs are super easy and have a girly twist, because....well...I love everything girly!  St the end are also two videos I made that go along with this blogpost if your interested. So, lets get crafting!

Glass Pumpkin 


Materials 

~Tiny glass Bowl 

~Tool or ribbon (Pumpkin color of your choice)

~Ball Christmas Ornament (Pumpkin stem color of your choice)

~Hot glue

Instructions

~Fill Bowl (Pumpkin) with tool or ribbon 

~Turn bowl upside down


~Remove metal part from the christmas ornament so it lays flat

~Hot glue christmas ornament to the flat side of the pumpkin (facing up) 


I chose to make my glass pumpkin white to match the theme of my room.  This Glass pumpkin is a chic twist on the classic orange pumpkin and is super easy to create using things you probably have laying around your house!

Glitter Pumpkin 


Materials

~Pumpkin 

~Glitter (Autumn Colors) 

~Glue

Instructions

~Add spots of glue onto your pumpkin in a desired design

~Pour glitter mix onto where the glue is 

~Let dry

This glitter pumpkin is so adorable & girly (I lovvvee glitter)! I made poke dots on my pumpkin but you can also make stripes or any other design.

Ribbon Pumpkin


Materials

~Pumpkin 

~Ribbon of your choice

Instructions 

~Tie your ribbon to the stem of your pumpkin

~Sit back and be happy because this DIY took you less than a minute to do 

This ribbon pumpkin is the simplest way to decorate your pumpkin, super cute and very customizable.  You can use all sorts of ribbon too! 


Glitter Leaf Garland


Materials 

~Glitter (I chose Gold)

~Glue 

~Fake leaves 

~Ribbon (I chose baby pink)

~Hot Glue 


Instructions

~Paint all or some  of your leaves completely with glue 

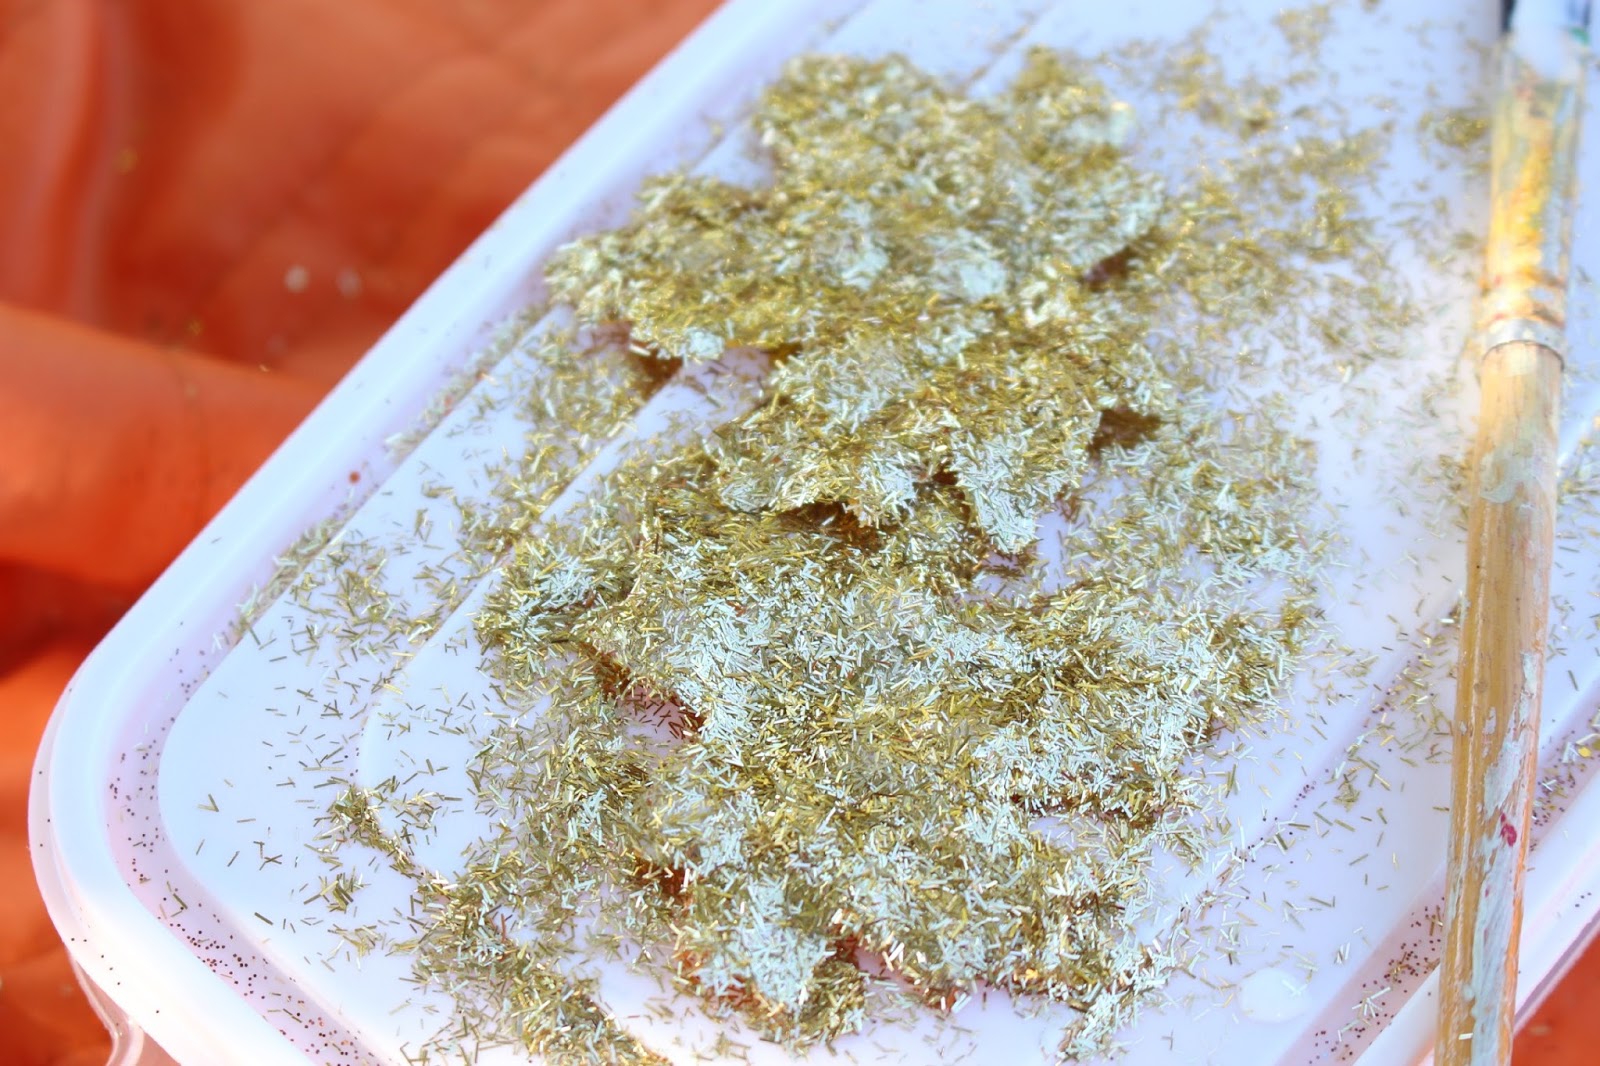
~Cover glued leaves in glitter 

~Let dry


~Create a pattern with glitter and non glitter leaves 


~Hot glue each leaf to a strip of ribbon

~Hot glue each ribbon to a long strip of ribbon following  your leaf pattern 


This leaf garland is the perfect girly autumn decoration.  The gold sparkle leaves are so beautiful!  The sparkles paired with the pink ribbon fits perfectly into the theme of my room, adding a shabby chic autumn touch for the season.

Lace vase 


Materials 

~Vase 

~Lace/lace ribbon

~Hot glue 

~Autumn arrangement of flowers 

Instructions

~Hot glue lace/ribbon to the vase


~Add your flower arrangement into the vase


This lace vase is such an adorable shabby chic decor piece!  I used an arrangement of pink and off white flowers creating a vintage autumn vibe to add to my room.

Videos


Autumn / Fall DIY Girly Room Decor & Inspiration 


Fall Activities: DIY Hair Tutorial Recipe


I hope this post inspired you to add girly/vintage/shabby chic/ DIY autumn touches to your bedroom/home.  Comment the ideas you are most likely to try.  
See you soon!


Sunday, July 19, 2015

Summer DIY Accessories & Room Decor


Hey everyone! Today on the blog I am going to show you how to make some Summer themed DIYs for those lazy summer days.  These projects include DIY accessories such as on trend chocker necklaces and pearl embellished flip-flops as wells as room decor including a summer themed printed canvas and an ocean inspired flower vase!  You can also follow along and make these DIYs with me in the youtube video below, lets get crafting!


Follow along! 


Pearl embellished flip flops 


Materials 
~Flip Flops 
~Pearl beads
~Ribbon 
~Hot Glue gun 

Directions
~Hot Glue about eight multicolored pearl beads to the middle portion of the flip flop strap 
~Make the bow//Take a piece of ribbon and fold each end into the center, hot glue in place, repeat 
~Hot glue each bow to the side of the flip flops 
~Decorate the inside of the bow with pearls to finish 


These Flips flops are so cute, girly with a beachy vibe! They are perfect for spending a day on the boardwalk, and super affordable as well.


Charm Choker Necklaces 


Materials 
~String 
~Charms
~End Clasps 
~Lobster clasps 
~Jump rings
~Needle nose pliers 
~Scissors 


Directions
~Cut a piece of string to the length of your neck
~Choose a charm and string it onto your necklace
~Attach an end clasp at each end of the string using pliers 
~Attach a Jump ring to each of the end clasps//jump rings open and close 
~Attach a Lobster clasp to one of the jump rings
~Wear your new necklace! 


I love making these choker necklaces, they are a simple and trendy accessory piece that can be personalized to your style!

 Ocean Flower Vase


Materials 
~Bowl shaped vase
~Blue clear and white glass stones
~White shells
~Water
~Flowers


Directions
~Fill vase halfway with water
~Add seashells and glass stones 
~Place flowers in the vase to finish 


This ocean flower vase adds a beach vibe to any room, and I love my choice of these blue and white flowers!

Summer printed canvas


 Materials 
~Canvas
~Three colors of paint 
~Lemon 
~Shells
~Paint brush


Directions
~Paint Seashells and half a lemon with two different colors of paint
~Stamp painted objects randomly throughout the canvas
~Let dry
~Paint a message on the canvas in the third color of paint
~Hang on your wall when dry!


I love how this canvas is so fun and bright, plus it was a lot of fun to make! 

I hope you all enjoyed these Summer themed DIYs, comment below your favorite and I'll talk to you soon! 


Saturday, May 2, 2015

Perfume Flower Vase DIY & Spring Decor

I think that we all can agree that after a long winter it's time for a little spring cleaning, and while your at it why not add some chic spring decor?  Today I am going to show you how I made these chic/designer inspired spring decor pieces for my bedroom such as multiple perfume inspired flower vases, a jewelry platter, and more!  I also included a video from my YouTube channel if you want to follow along while I make these projects at the end of this post, enjoy!

Chanel Vase

For these first DIYs I was inspired by the beautiful designs and shapes of perfume bottles, so I decided to recreate some of my favorites and make vases out of them!    


Materials
~Rectangular vase
~Chanel label printout
~White (or any other color) flowers
~Flat and/or round glass pebbles 


Instructions
~Hot glue the label to the vase
~Fill the vase with the pebbles
~Add in the flowers 


I love the classic pristine look this Chanel vase gives off, especially with the white flowers. 

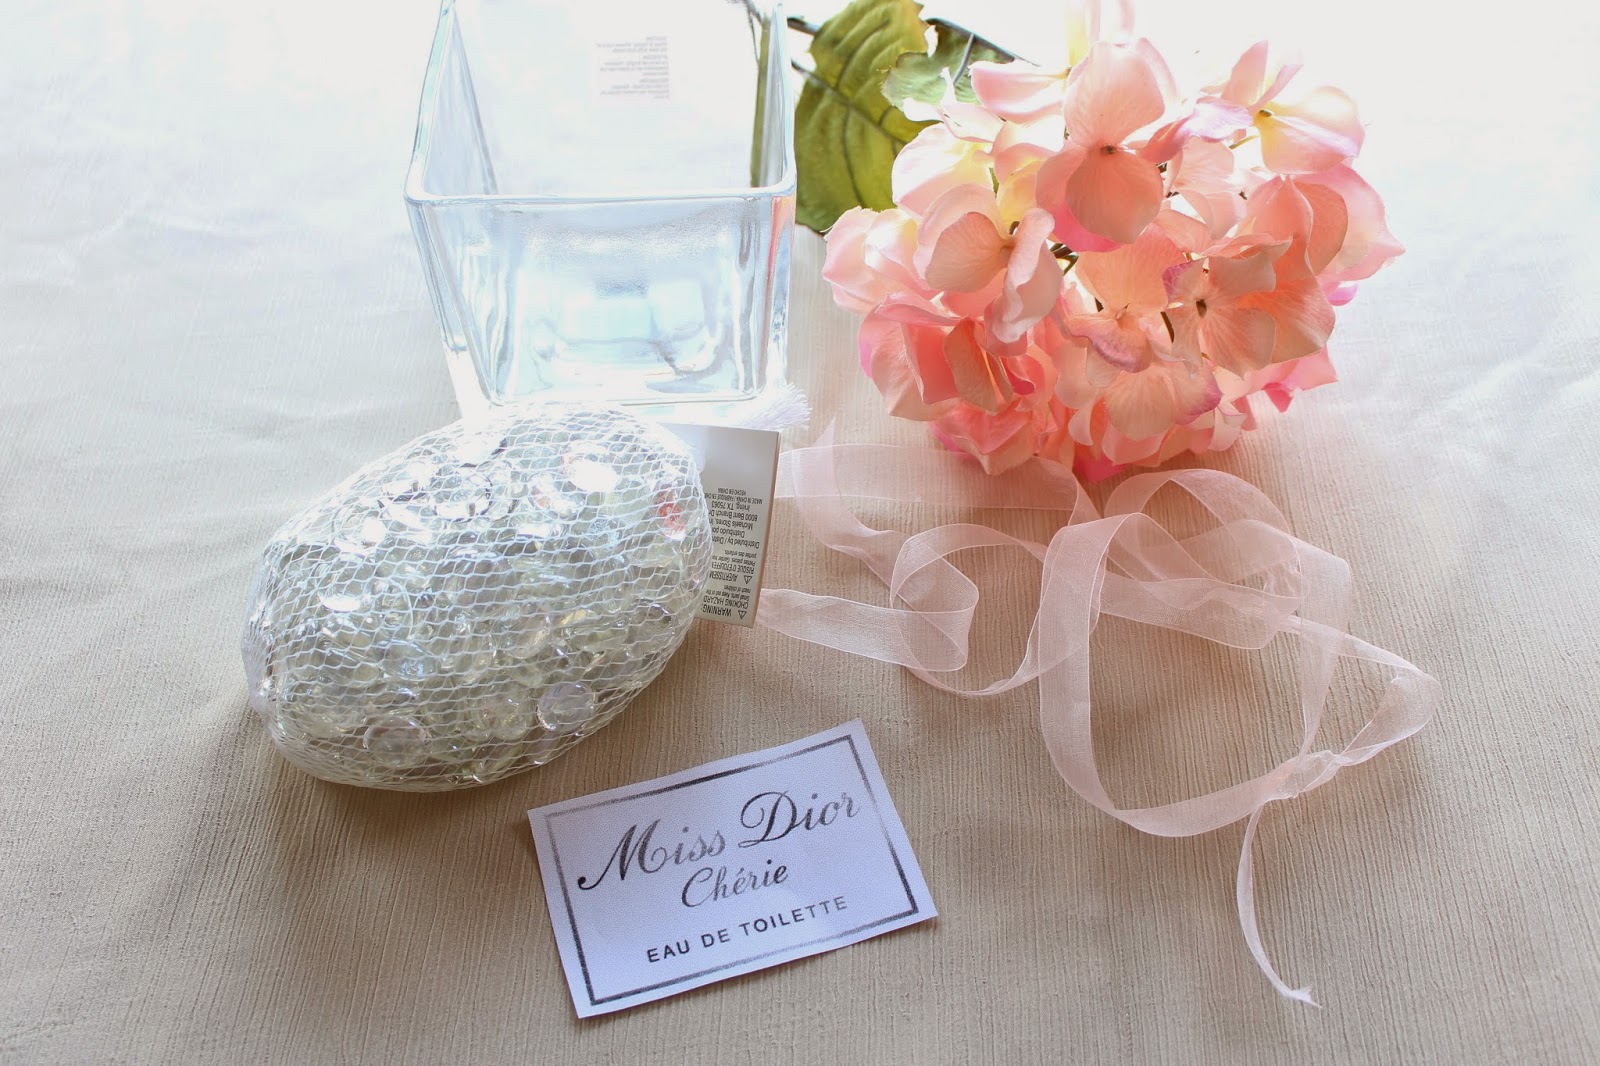
Miss Dior Vase


Materials 
~Square Vase
~Pink (or any color) flowers
~Miss Dior label printout 
~Flat glass pebbles 
~Pink sheer ribbon 

Instructions
~Hot glue the label to the vase
~Fill the vase with the pebbles 
~Tie the ribbon around the top of the vase, glue into place
~Add the flowers to the vase


This Miss Dior vase is sooo girly, I love the pink ascents!

Daisy Dream Vase


Materials
~Tall vase 
~Off white flowers
~Daisy Dream label printout
~Blue tulle 
~Gold ribbon


Instructions
~Hot glue the label to the vase
~Stuff the tulle inside the vase until it is full
~Hot glue the gold ribbon to the top of the vase
~Add the flowers into the vase 


I really love how the tulle gives the vase a soft blue tint as the perfume vile does, (I had a little sample of the perfume so I put it next to the vase haha). 

Daisy Vase 


Materials
~Small rounded vase
~Daisy label printout 
~Bright yellow/orange colored flowers
~Yellow ribbon


Instructions
~Hot glue the label to the vase
~Fill the vase with the yellow ribbon until full
~Add the yellow flowers to the vase


I love how I did the little matching set of the Daisy and Daisy dream vases, and this Daisy one is so festive for the spring! 

Chanel Canvas 


To stick with the designer label theme I thought I would make this sparkling pink Chanel canvas to hang on my wall.  You could also use this DIY for any stencil shape you would like!


Materials 
~Canvas
~Elmer's glue
~Paintbrush
~Glitter of choice
~Logo cutout (or any other picture)
~Beads (optional)


Instructions
~Cut out the inside of your stencil and lay it on the canvas
~Paint sections of glue inside the stencil 
~Sprinkle glitter on top to cover the glue
~Repeat until the stencil is covered 
~Sit 3 hours to dry
~Remove the paper stencil
~Decorate with beads 


This chanel canvas is so girly and I lovvveee all the pink glitter!


Jewelry Platter


The last little girly touch I added to my room was this beautiful jewelry platter, such a fun way to store your jewelry! 


Add some decorative beads to a white platte and top it off with your favorite jewelry for this easy and chic decor peice! 

Video tutorial 


Follow along as I do the DIYs in the video above! I hope this post inspired you to DIY some decor pieces in the midst of your spring cleaning, and don't forget to share this post on Pinterest /Twitter if you love these ideas! 


Saturday, December 13, 2014

DIY Holiday Room Decor {A Girly Twist}


Happy Holidays everyone!  Today I thought that I would share with you how I decorated my room for the Holiday season, plus how to make some really cute DIYs I put together.  If you couldn't tell already, my style is SUPER girly so I put my own little twist on the classic holiday decor. I decided to take the pink, gold, shabby chic, girly route with all of these decorations!  Also, is a video I made corresponding with this post for you to watch! I am in love with how my room turned out and I hope you love it too!  

Video 


Girly Table top Christmas Trees 


Materials
~Cones
~Ribbon
~Hot glue

Optional 
~Fake pearls
~Tulle
~Glitter 
~Buttons


For the first tree I took different colors of ribbon and started glueing one right under the other, wrapping them around the tree in a "drooping pattern".  This way, the ribbon appeared to look like ruffles on the tree.


For the second tree I took thick ribbon, all of the same color and glued it flat onto the cone.  I proceeded to cover the cone in the ribbon so that the tree turned out pink. 


To finish off the Ruffle tree I made a bow out of tulle and glued it to the top.


For the pink tree I made 2 bows out of white ribbon and glued one to the top of the tree and one to the bottom corner.  Then I connected the bows by wrapping (and glueing) a string of fake pearls around the tree.


Here's how the ruffle tree turned out!  I really like all the pastel ribbon colors that I chose.  I placed it on my dresser along with a silver christmas tree to get a really pretty visual contrast.  Also on the dresser I added a cute cream and gold heart box, along with a handmade bowl filled with gold, cream, and pink mini ordainments!  For the finishing touch I added this mason jar snow scene that I will show you how to make!


Now the Pink Tree!  I really love the fake pearls wrapped around the tree, it gives it a girly and formal feel.  I placed the tree on my side table and placed lavender colored ascents around it, such as my Be Enchanted body butter from Bath & Bodywork and a hand made purple mug to add a cozy winter  feeling.  I also added a mini Merry Cookie candle to incorporate some holiday sprit to the side table, along with a mason jar filled with sparkling gold mini ornaments.  

Mason Jar Snow Scene 


Materials 
~Mason Jar 
~Figurine 
~Glitter
~Hot glue

Optional
~Ribbon 
~Fake Pearls


First I hot glued my Jaguar to my mason jar lid (on the inside).  Then I took the glitter and spread it on the inside of the mason jar to look like snow.  I screwed the lid on, flipped over the mason jar, and then decorated the lid with fake pearls and a ribbon bow to give it a girly touch. 


I really like how the snow scene turned out!  It very different then your typical holiday snow globe, less messy because there was no water involved and more delicate because of the light shimmer the glitter (snow) gives it.  I also really love the gold and cream color scheme the snow scene portrays!

Ornament Garland


Materials
~Mini or regular sized ornaments 
~Ribbon


For this Ornament garland all I did was string my ornaments onto this pretty pink ribbon and tied each one in palace.  When I finished, I tied a bow at each end of the ribbon.


I hung my pink and gold garland on my wall with some lights, tinsel and my purple and silver garland on my headboard.  I really love how this project is so personalized and easy to make, also it turned out more beautiful then any store bought garland I have ever seen.


Christmas Card Display 


Materials
~Frame 
~Ribbon
~Elmer's Glue
~Decorative clothes pins
~Decorative Paper

Optional
~Glitter


For the Christmas Card Display I first glued two pieces of Ribbon across the frame to hang the Christmas Cards.  Then I cut to size the paper that I was going to use as the background for the display.


I put the paper in the frame, removed the glass, and taped the back on.  Then, to decorate the clothes pins I dipped them in glue and then silver glitter.


I love how the Card display is so festive and Winter Themed!  I hung it above my shelf where I displayed all of my winter Bath & Body Works Products along with this WINTER SHADOWBOX that I made last year, CLICK TO READ that post!  Also under the shelf I placed this "Tis the Season" Snowflake Wallflower from Bath & Body Works to make my room smell amazing!  I think this little corner of my room is so pretty with all the winter themed items! 

I hope you enjoyed this post, tell me which DIY/ Decoration idea is your favorite! Happy Decorating!
Chloe


Pink Double Sketch Heart